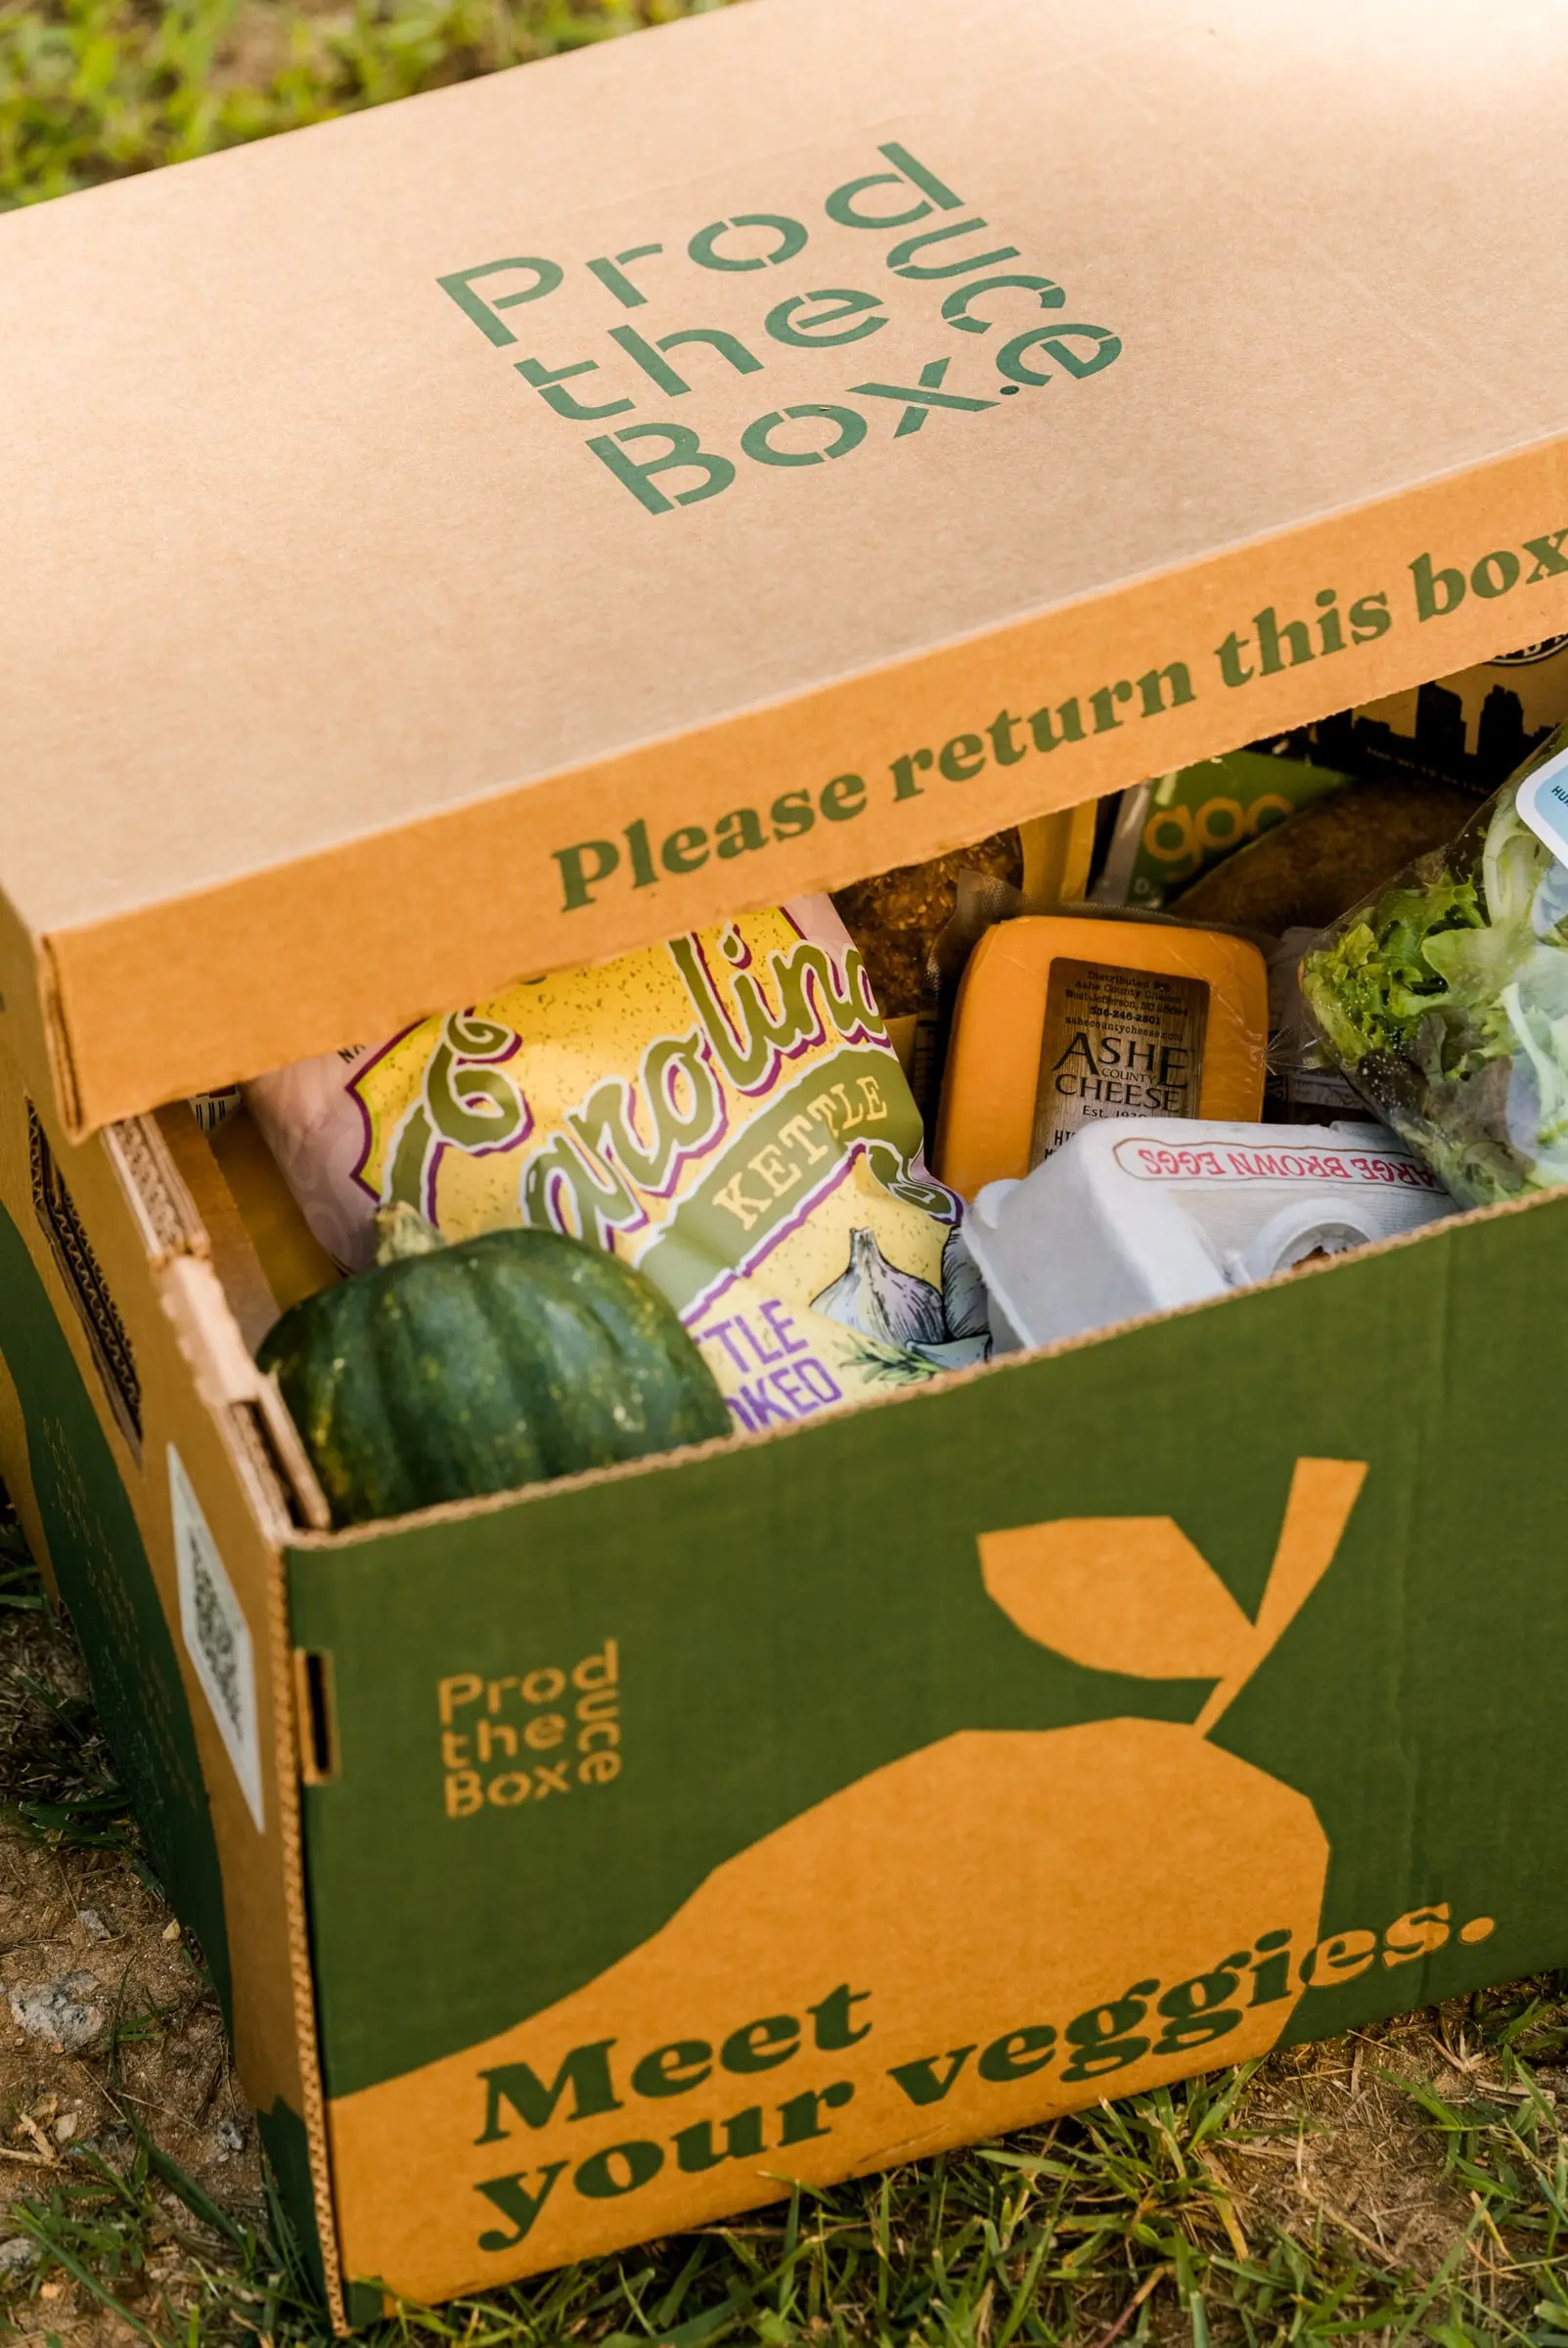
Fresh. Local. Delivered.
The Produce Box® brings the farmers market to you with farm-to-door local food delivery in the Triangle.


LIVE LOCAL
Our online Farmers Market supports over 100 North Carolina Farmers and Artisan foodmakers
Every time you place an order with The Produce Box, you shorten the supply chain and get fresh, locally-sourced food delivered right to your doorstep, all while reducing your carbon footprint. Together, we can build a better food system.
Create an AccountWhy shop with The Produce Box®?


Your One Box Shop
Local Produce
Over 70% of our produce is sourced within 150 miles of our warehouse year-round. On average, our farmers earn three times more per dollar than farmers supplying traditional grocery stores! For items that don't grow here, we work with local aggregators to ensure a fresh, diverse selection.

MEAT, DAIRY AND EGGS
We hand-pick small providers of meat, dairy, and eggs to deliver the best products from North Carolina family farms to you. Pasture-raised, grass-fed, antibiotic-free, and Animal Welfare Approved products make up the majority of our offerings.

ARTISAN PRODUCTS
Stock your pantry, fridge, and freezer with artisan foods from your favorite NC makers. Enjoy fresh-baked bread, ready-to-heat meals, and healthy snacks, bringing local bakers and chefs to your table with home delivery convenience

Popular Categories

Fresh Produce

Local Meat

Bakery

Dairy & Eggs

Prepared Meals

Produce Boxes
Neighbors delivering local food to neighbors.
Our delivery model relies on Neighborhood Ambassadors, people just like you who deliver fresh, local food to the doorsteps of their community. By choosing The Produce Box, you're not just shopping online for your groceries. You’re supporting local farmers, strengthening your neighborhood, and fueling our local economy.

What our customers are saying...
I love the convenience of getting local goods delivered to my home. I always want to support local, but sometimes making it out to the farmer's market is overwhelming. The bundles are especially handy. The food is always fresh and delicious, and the subscriptions are flexible.Martha S
We love using the Produce Box at our company. We receive a box of fresh fruit for our employees to have healthier alternatives to snack on. I love how you can add items to your orders or skip a week if needed. Also very convenient that they send you a text when on the way so you know when to expect the delivery. Highly recommend for fresh fruit, produce, and many others!Chelsea W
We love the Produce Box and supporting our local farmers and vendors. We have 3 out of 4 family members with celiac disease and can be a challenge and expensive to shop for. There are lots of gluten free options including a local bakery. Highly recommend.Kristen H


Still have questions? See if we've answered them here:
FAQs
Learn More About our Impact

Here’s how we're increasing food access in our area
Community Impact

Ready to bring healthy food to your workplace?
Workplace Wellness
